How to Mount Plug-In Wall Sconces with Command Strips
Mount a lightweight plug-in sconce using heavy-duty adhesive strips or small hanging nails without losing your rental deposit.
6 min read
In this article
You can mount a plug-in wall sconce without drilling by pairing a lightweight fixture with heavy-duty adhesive picture hanging strips. If your wall is rough plaster or peeling paint where adhesives fail, monkey hooks or hardwall plastic hangers leave pinholes that a tiny dab of spackle covers instantly.
Key takeaways
- The fixture must have a flat backplate and should weigh less than 3 pounds (1.36 kg).
- Adhesive strips resist downward shear well, but swing-arm sconces generate outward leverage that rips adhesive off drywall.
- Never let the electrical cord hang freely; its dead weight will steadily peel the mount off the wall.
- Clean the surface with isopropyl alcohol before applying any adhesive, not household spray cleaners.
Can you mount a plug-in sconce safely without screws?
Yes, provided the fixture is light and sits flush. The biggest risk with no-drill sconces is not the fixture dropping straight down. The real issue is rotational torque.
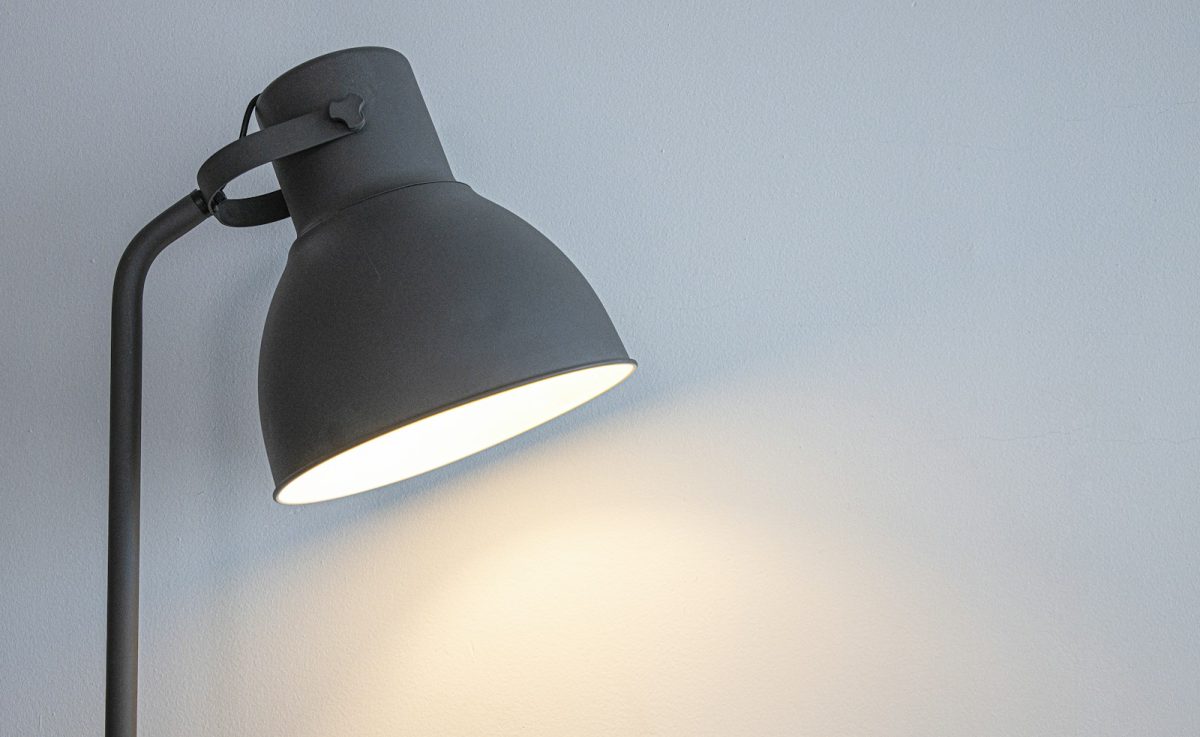
When a light bulb, shade, or arm extends out into the room, it acts like a lever. That lever pulls the top edge of the backplate away from the wall. Standard Command strips resist downward vertical shear remarkably well, but they peel apart fast under sustained tension pulling directly away from the surface.
For damage-free bedroom setups, pick a minimalist sconce where the bulb sits close to the wall bracket. Save the long, articulated reading arms for places where you can drive actual screws into a stud.
| Mount Method | Best Wall Type | Weight Limit | Wall Damage |
|---|---|---|---|
| Command Large Picture Strips | Smooth painted drywall | 3 lbs per fixture | Zero (if pulled correctly) |
| Gorilla Heavy Duty Mounting Tape | Tile, glass, raw metal | 5 lbs per fixture | High (will tear drywall paper) |
| Monkey / Hercules Wire Hooks | Standard hollow drywall | 10 lbs per hook | Single 2 mm pinhole |
| Hardwall Plastic Hanger Hooks | Plaster, brick, hardboard | 4 lbs per hook | Three tiny pinpricks |
What sconces actually work for this?
Stick to fixtures that weigh under 3 pounds, including the bulb. That cuts out thick cast brass, solid marble accents, and heavy glass globes. Aluminum, thin folded sheet metal, silicone, and woven rattan shades are the safest options.
Look for a mounting plate that is completely flat on the reverse side. Many standard plug-in fixtures come with a hollow, recessed canopy designed to hide wire nuts. If the back rim is only 2 millimeters wide, adhesive strips have nothing to grab onto.
If your favorite fixture has a hollow metal cup on the back, glue a scrap block of 1/2-inch thick plywood inside the cavity using epoxy first. That creates a wide, flush surface for the strips to lock onto.
Step-by-step: Mounting with adhesive strips
Gather rubbing alcohol, a pencil, your sconce, and two to four pairs of Command Large Picture Hanging Strips. Do not use standard foam double-sided tape; picture hanging strips use interlocking plastic teeth that let you click the sconce off the wall to adjust it.
- Wipe down the wall. Clean the plaster or drywall with a 70 percent isopropyl alcohol solution. Water, soap, or all-purpose degreasers leave a thin film that ruins the bond. Let it air-dry for 10 minutes.
- Prep the mounting plate. Wipe the back of the sconce with alcohol too. Press two sets of clicked-together strips vertically along the outer edges of the plate. If the plate is circular, place them parallel to each other on the left and right sides.
- Mark your bed height. Sit up in bed as you normally would to read. The bottom of the sconce shade should sit roughly at shoulder height, usually 30 to 36 inches above the mattress top. Mark the plate perimeter lightly with a pencil.
- Attach to the wall. Peel the exposed wall-side liners. Hold the sconce level, press it against the wall, and lean your body weight into it for 30 seconds.
- Separate and cure. Gently lift the sconce from the bottom up to unclick the hook-and-loop teeth, leaving the wall-side strips in place. Press firmly along the wall strips for another 30 seconds. Wait a full 60 minutes before hanging the light back on the wall. The adhesive requires this time to bond fully.
- Remount and secure the cable. Snap the sconce back onto the strips until you hear the teeth click. Immediately support the power cord.
How do you secure the cord?
The catch with plug-in lights is the cable itself. A six-foot heavy-gauge fabric cord exerts constant downward pull on the fixture. Over three or four weeks, that slow drag will cause the adhesive bond to slide down the wall.
Give the cord a tiny bit of slack right beneath the sconce base. Anchor the cord to the wall 2 inches below the sconce using an adhesive cord clip.
Run the rest of the cord straight down to the nearest outlet. You can dress it inside a paintable plastic cord raceway or use clear stick-on clips every 14 inches. If you let the cord droop across the room toward an outlet, a passing foot or caught blanket will rip the light off the wall instantly.
What should you do if your walls are textured?
Adhesives fail on orange peel, knockdown, and old lath-and-plaster bedroom walls because the glue only touches the high peaks of the texture. If your rental has textured walls, switch from adhesive to a wire drywall hook, often sold under the name Monkey Hook.
These hooks require zero power tools. You push the sharp tip of the curved steel wire directly into the drywall using your thumb and twist it. The wire turns inside the hollow cavity and locks flat against the interior surface of the drywall.
It leaves a hole less than 2 millimeters wide, which looks like a pinprick. When you move out, a tiny fleck of white spackle or painter's putty fills it without needing sanding. Hang the sconce backplate's factory keyhole slot directly onto the exposed hook point.
Which bulb should you put inside?
Keep weight and heat low. Use an LED bulb rated at 4 to 8 watts, which yields the equivalent light of a 40 to 60-watt incandescent.
Incandescent bulbs produce significant heat that radiates directly back into the metal canopy. Over months of nightly use, continuous heat softens the synthetic rubber adhesive used on damage-free strips, eventually causing the tape to shear off unexpectedly. LEDs run cool and keep the adhesive secure.
Pick a 2700K warm white color temperature for bedrooms. If the fixture sits right beside your pillows, a frosted bulb avoids the sharp, harsh glare of exposed filament styles. If you can find lightweight plug-in sconces with inline roller switches on the cord, you can turn them off from bed without pulling on the wall bracket.