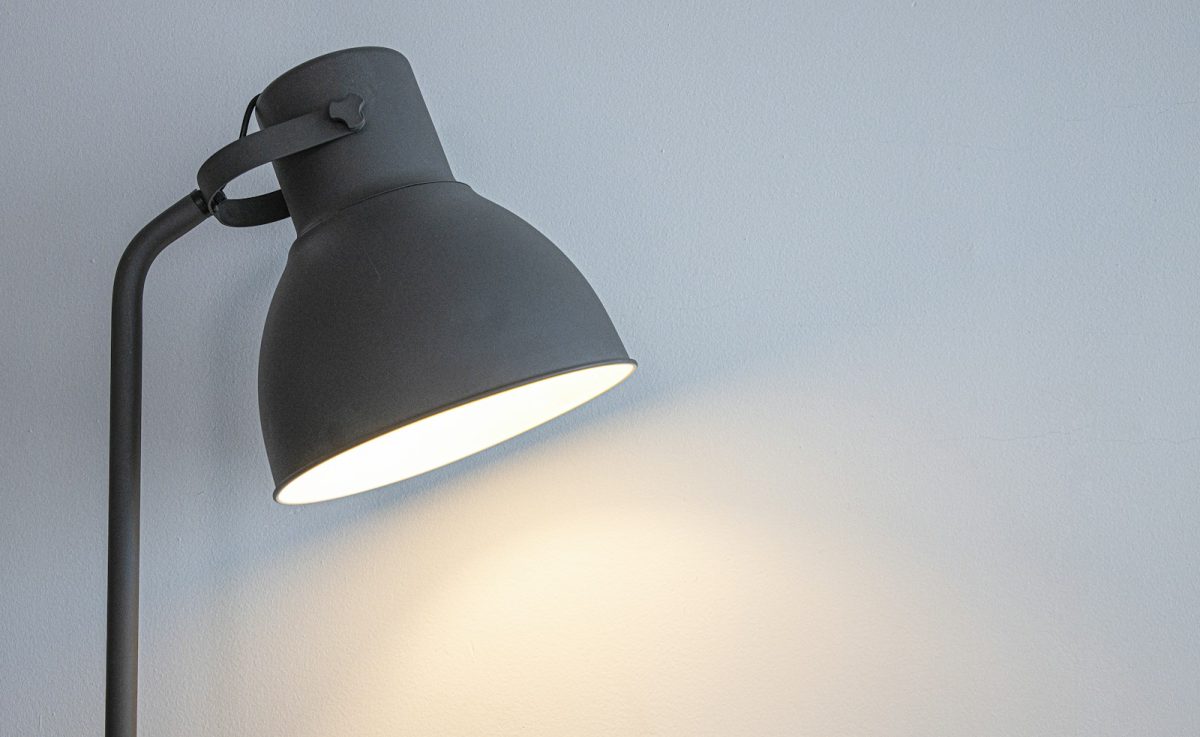
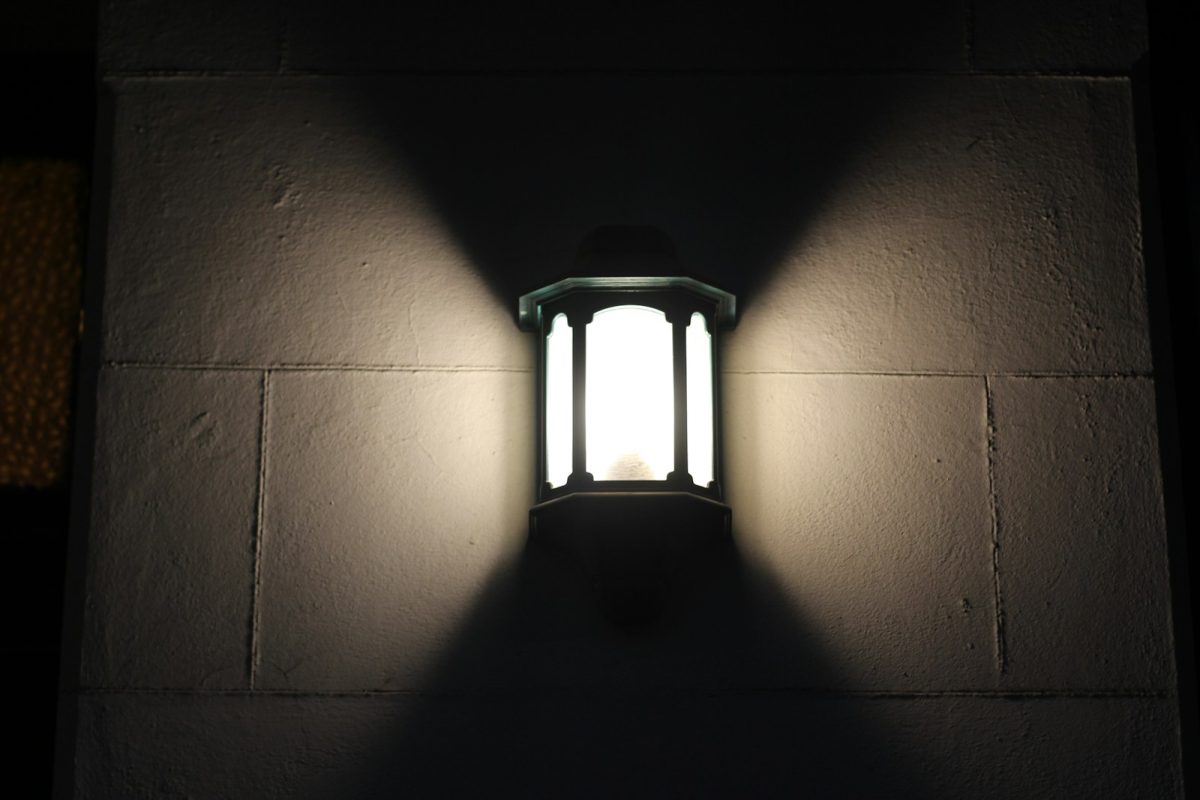
How to light a dark entryway without an outlet nearby
Light a pitch-black rental hallway without drilling walls or running extension cords across the floor.

In this article
- Key takeaways
- Which battery-powered lighting type fits your layout?
- Step 1: Establish your sightlines and clearance
- Step 2: Prep the wall surface for zero paint tear
- Step 3: Mount a magnetic rechargeable sconce
- Step 4: Add motion detection for hands-free entry
- What color temperature and brightness should you use?
- What is the honest catch with cordless lighting?
- How to use mirrors to double your illumination
To light a dark entryway without an electrical outlet, install rechargeable battery sconces or adhesive motion-sensor puck lights. You do not need to call an electrician, cross your floor with trip-hazard extension cords, or forfeit your security deposit.
A windowless foyer creates an awkward problem in many older flats and converted studios. Builders often omit wall plugs in entry halls entirely. Here is the exact plan to fix it cleanly.
Key takeaways
- Mount rechargeable wall sconces with magnetic bases using removable picture-hanging strips that hold at least 16 pounds per set.
- Choose bulbs rated at 2700K (warm white) and 150 to 300 lumens to avoid turning your doorway into a sterile interrogation room.
- Use passive infrared motion sensors so battery units only activate when someone walks in, stretching charge intervals from days to weeks.
- The honest drawback: rechargeable fixtures require routine charging via USB-C, so you must factor maintenance into your weekly routine.
Which battery-powered lighting type fits your layout?
Select your fixture style based on your available wall space and whether you have a landing surface. If you have a narrow hallway with zero floor space, wall-mounted fixtures are non-negotiable. If you have an entryway ledge, shelf, or narrow shoe cabinet, portable table units provide more flexible light distribution.
| Fixture Type | Typical Brightness | Power Source | Best Placement | Mounting Method |
|---|---|---|---|---|
| Magnetic Wall Sconce | 100 to 250 lumens | Rechargeable lithium-ion (USB) | Eye level (60 to 65 inches high) | Removable foam adhesive bracket |
| Motion-Sensor Light Bar | 150 to 300 lumens | Rechargeable lithium-ion (USB) | Over doorway frame or under floating shelf | Magnetic strip with adhesive back |
| Puck Lights | 50 to 80 lumens | AAA batteries or USB rechargeable | Underside of shoe racks or wall hooks | Command adhesive pads |
| Cordless Lamp | 100 to 200 lumens | Internal rechargeable battery | Console table, floating shelf, shoe bench | Freestanding (no mounting) |
Step 1: Establish your sightlines and clearance
Begin by measuring the swing of your front door and the clear width of your hallway. Open your door all the way flat against the wall to verify where hardware clears.
A common renter mistake is sticking a battery sconce where the doorknob smashes into it. Keep sconces at least 8 inches outside the arc of the door swing.
If you mount a sconce on an open hallway wall, install the center of the fixture between 60 and 65 inches off the finished floor. This places the light source at eye level for most adults, preventing top-down shadows while keeping the unit reachable for detaching and recharging.
Step 2: Prep the wall surface for zero paint tear
Never press adhesive strips directly onto greasy or dusty rental paint. Clean the targeted drywall area using isopropyl alcohol and a clean lint-free cloth. Do not use standard household spray cleaners; they leave slick surfactant films that cause adhesive to release unexpectedly.
Let the alcohol air-dry completely for 10 minutes.
If your rental has textured or unprimed plaster, standard mounting tape can fail. Use Command picture hanging strips with interlocking hook-and-loop fasteners rather than flat foam tape. The interlocking strips let you pull the light fixture down smoothly to access its charging port without ripping the tape off the drywall every two weeks.
Step 3: Mount a magnetic rechargeable sconce
Magnetic sconces are the gold standard for outlet-free apartments. These fixtures consist of two parts: a base plate attached to the wall and a light head that snaps into place with a neodymium magnet.
- Separate the magnetic wall base from the lamp body.
- Apply two sets of large interlocking adhesive strips to the back of the base plate.
- Press the base firmly against the wall for 30 seconds with two hands.
- Remove the base plate from the wall bracket (if using hook-and-loop) and let the wall-side adhesive cure under zero weight for a full 60 minutes.
- Snap the base back onto the wall and attach the magnetic lamp body.
Whenever the battery runs low, you pull the lamp head off the magnet, plug it into a standard 5-volt phone charger via USB-C near any active outlet in your living room or kitchen, and click it back into place three hours later.
Step 4: Add motion detection for hands-free entry
Carrying groceries while fumbling on a dark wall for a tiny push-button switch defeats the purpose of an entryway light. Solve this by placing a slim, motion-sensing LED light bar immediately adjacent to the entryway lock or directly underneath a coat rack.
Passive infrared (PIR) sensors register changes in heat and movement up to 10 feet away across a 120-degree angle.
Mount the bar angled slightly downward toward the welcome mat. This configuration triggers the fixture the moment your door cracks open by two inches. It also prevents your light from running down its battery during the day if the unit features an integrated ambient daylight sensor.
What color temperature and brightness should you use?
Keep your entryway lighting between 2200K and 2700K color temperature, with a total output of 150 to 300 lumens.
Rental hallways often lack natural light. Many people mistakenly buy ultra-bright, 5000K daylight puck lights to fight the gloom. Daylight LEDs turn neutral hallway paint an icy, clinical blue, showing off every scuff mark and plaster patch left behind by previous tenants. Warm light creates depth, makes tight corridors feel welcoming, and eases your eyes when walking in from outside darkness at night.
If your chosen fixture does not offer adjustable dimming, position it so the beam reflects off a secondary surface. Aim the light head toward a plain white wall or direct it down the grain of a wood console shelf to soften the throw.
What is the honest catch with cordless lighting?
The catch with battery-powered fixtures is charging fatigue.
Marketing descriptions often claim months of operation, but real-world runtimes depend strictly on traffic. A continuous-on battery sconce operating at 200 lumens only lasts about 6 to 9 hours before dropping in output. If you leave it burning all evening as mood lighting, you will find yourself charging it every two days.
To make this setup painless in 2026:
- Reserve continuous-on mode strictly for times when you are actively entertaining guests.
- Keep your daily traffic on passive motion mode with a 20-second automatic shut-off timer.
- Keep a spare, long USB-C cable in a nearby entryway drawer so you can top off the unit from a portable power bank without even taking the fixture down from the wall.
How to use mirrors to double your illumination
Place a plain, unframed or lightweight wall mirror directly across from or adjacent to your battery light source. A mirror costs nothing to run and requires no wiring, but it doubles the visual output of low-lumen fixtures by throwing illumination back into the corridor center.
Ensure the mirror reflects the soft spread of the light rather than an exposed bare LED diode, which causes harsh direct glare. Pair a 30-inch round hanging mirror with a small cordless brass or ceramic lamp on a shallow 8-inch shoe cabinet, and you will transform an unworkable rental entry into a bright, functional foyer.